 PreRoll Check v2026-11-22b
Everything about privacy, troubleshooting and how PreRoll Check measures. Can’t find the answer? Email hello@prerollcheck.com.
No. Your video is opened directly in your browser and never leaves your computer. The analysis engine (ffmpeg) and the text recognition (Tesseract) are downloaded to your browser once and then run locally, on your own machine. No video, frame, audio or report is sent to us or anyone else.
Want to see for yourself? Open your browser’s developer tools (Cmd + Option + I → Network) while a file is being analysed – you’ll see that no request carries your file.
Only a few small settings, in your own browser’s local storage: your invite code (as an encrypted hash), the selected format, and any safe zone templates you’ve edited yourself. Nothing is stored on a server – there are no accounts and no tracking cookies. Clearing the site data in your browser removes everything.
Yes – that’s exactly why it works the way it does. Since files never leave your computer, there is nothing to disclose. Reports and PNG frames are only created when you click download, and they are saved on your computer.
Straight to your Downloads folder. It’s generated in your browser – share it with whoever you want, or no one.
Do a hard reload: Cmd + Shift + R (Mac) or Ctrl + F5 (Windows). The current version is shown next to the logo ().
In Chrome, Edge and Firefox on desktop, the analysis uses several processor cores. Safari doesn’t support this yet and falls back to one core, which is noticeably slower – use Chrome for long files. You can also lower Max frames to analyse for a quicker first check. A 15-second ProRes HQ spot typically takes under a minute.
Browsers can’t play ProRes or MXF. PreRoll Check automatically creates an H.264 preview for the safe zone view – it takes a moment the first time. Delivery QC always analyses your original file, never the preview.
Browsers limit how much memory a page can use. Spots up to a few minutes in ProRes HQ are fine. For very long or very large files (several GB), close other heavy tabs, lower Max frames to analyse, or check a shorter export.
Text recognition (OCR) is good at clean, readable text but can miss heavily stylised, animated, very small or low-contrast text, and occasionally reads graphics as text. It checks up to 8 frames per film. Treat it as a helpful second pair of eyes – always inspect the frames visually. Green boxes = inside the safe area, red = outside.
Check that your browser allows downloads from prerollcheck.com, and look in your Downloads folder. Some browsers ask for permission the first time.
The engine (~10 MB) is downloaded the first time you analyse. Check your connection and reload. Corporate networks or ad-blockers can sometimes block .wasm files – try another network or browser.
Measured with ffmpeg’s ebur128 filter according to EBU R128 / ITU-R BS.1770: integrated programme loudness (LUFS), true peak (dBTP, 4× oversampled) and loudness range (LRA). Tick No audio for intermediate deliveries that are mixed later.
Each analysed frame is read in its own format (8 or 10 bit, 4:2:0 / 4:2:2 / 4:4:4), converted from YCbCr to RGB using the file’s matrix (BT.709 for HD), and every pixel is checked against EBU R103: R, G, B and luma must stay within −5 % … 105 % (10 bit code values 20–984, 8 bit 5–246).
The Limit setting decides how large an area per frame is accepted before it counts as an error. Small errors along sharp, saturated edges are common – inspect them in the colour map (magenta = RGB outside, yellow = luma outside). Different QC systems filter and interpolate colour slightly differently, so numbers can differ a little from your recipient’s own QC.
Detected with ffmpeg’s blackdetect and freezedetect. Broadcast recipients often require exact duration with no black, slate or hold at the start or end.
Text recognition runs on up to 8 frames spread across the film. Every detected line of text is checked against the safe area for the selected profile: action safe 3.5 % / title safe 5 % for TV, or the platform safe zones (TikTok, Reels, Stories, Shorts…) for social.
Short spots are analysed frame by frame. Longer files are sampled evenly (every 2nd, 3rd… frame) up to the Max frames to analyse setting – the report shows exactly how many frames were checked.
Each profile is our interpretation of the recipient’s published spec, with the date it was last verified. Specs change – always confirm with the recipient before delivery.
Found a bug, have an idea, or noticed that a platform changed its spec? We’d love to hear from you:
PreRoll Check is free and runs entirely in your browser. If it saved you a late-night re-export, a coffee helps keep it free, updated and growing.
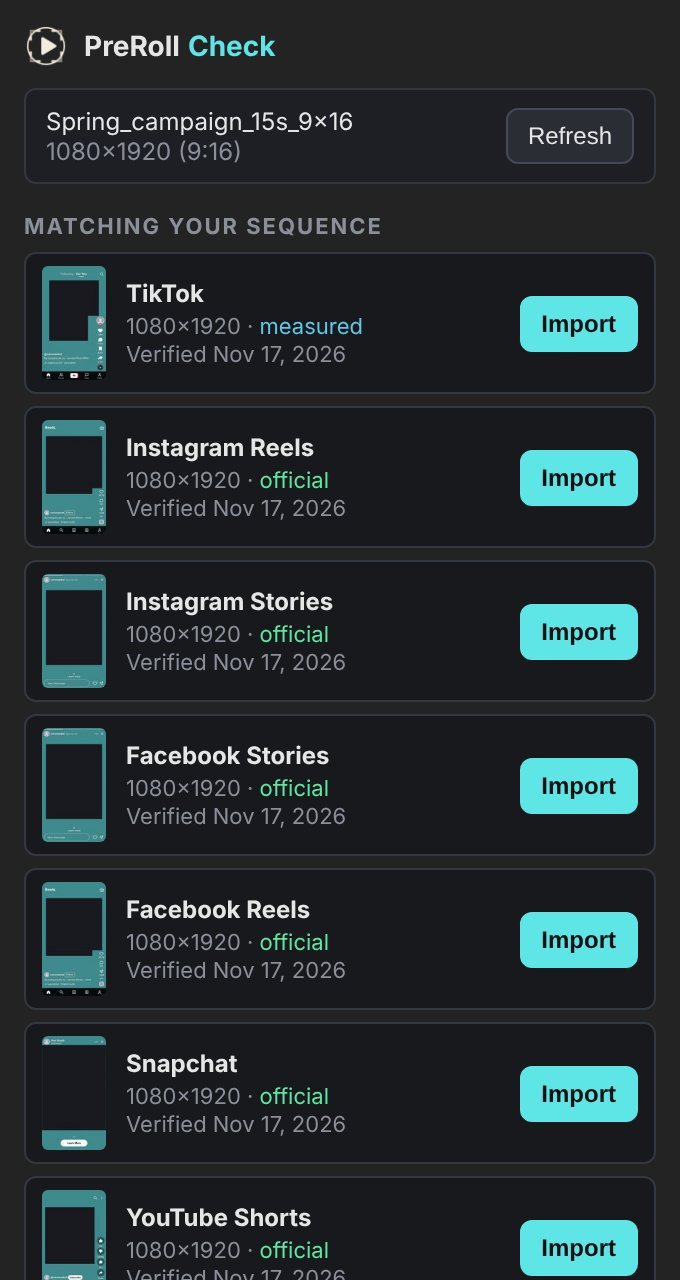
The PreRoll Check panel puts the same safe zone templates straight into your timeline. In Premiere it lands on a free track above your edit, over the whole sequence. In After Effects it becomes a guide layer – visible while you work, never rendered.
Premiere Pro · v1.0After Effects · beta 0.2
Premiere Pro 25.6 or later · After Effects (Beta) 27.1 or later · macOS and Windows · free
DaVinci Resolve, Final Cut or something else? Download the template pack – all formats as transparent PNGs, verified Nov 2026.
Get the .ccx file above.
Creative Cloud installs it. You’ll see a note that it’s not from Adobe’s marketplace – that’s expected, accept it.
Restart the app, then Window → UXP Plugins → PreRoll Check. Drag its tab next to your other panels and save the workspace.
In After Effects, never – it’s a guide layer. In Premiere, only if the track is switched on: the overlay sits on its own track named “Safe zone”, so turn off that track’s eye before you export.
No. The templates ship with the panel and are copied into your project as PNG files. Nothing from your project leaves your computer.
Adobe’s new panel system is only in the After Effects Beta so far (27.1 and later). It works today, and we’ll release it fully when it reaches the regular After Effects. On older versions, download the PNG from the Safe zones tab and set it as a guide layer (Layer → Guide Layer).
Download the new version here and double-click it. Templates already in a project keep their old look – remove them from the project and press Import again.
Use the template pack: transparent PNGs at delivery resolution. Put the one you need on the top track and disable that track before you render. Grab a fresh pack when platforms change their UI – the date is in the file name.
MP4, MOV or a still frame – or try the sample. It plays locally, nothing is uploaded.
The Instagram Reels interface and safe area are drawn over your video.
Move text, logos and faces inside the safe area, then export a PNG for approval or run Delivery QC.
On a 1080×1920 frame, keep text and logos inside the dashed area: 269 px from the top, 672 px from the bottom, 65 px left and 65 px right. The hatched column is where the buttons sit – 230 px wide from 1152 px down.
Meta’s numbers are for Reels ads. Organic Reels have no official spec, but the interface is the same, so the ad margins are a good rule.
Facebook Reels use the same margins as Instagram Reels.
Ads with long disclaimers: keep the bottom 40% clear.
Source: Meta Ads Guide – Instagram Reels ads: keep 14% top, 35% bottom and 6% on each side free of text and logos. Status: Official. Last verified: Nov 17, 2026.
Meta asks you to keep the top 14% (about 269 px), the bottom 35% (about 672 px) and 6% on each side (about 65 px) free of text, logos and key elements on a 1080×1920 video.
No. Stories need about 20% free at the bottom, Reels 35%. If one video runs in both, design to the Reels margins.
Yes, Meta uses the same Reels safe zone for Facebook and Instagram.
No. Everything runs locally in your browser.